Map the routes you use most
Start at the street and follow your usual route to the front door. Then walk from the house to the bins, washing line, shed and garden. Mark these journeys on a rough sketch, including existing paths, steps and corners. Note where you carry shopping or push a bike rather than simply walking through.
Consider occasional access as well. Moving furniture, taking a wheelbarrow to the garden or bringing equipment around the side of the house may need more room than your normal routine. List the items that must fit so your installer can discuss suitable openings.
Give each gate a clear purpose
A front pedestrian gate, side gate and driveway gate may serve different needs. Decide who uses each entrance and how frequently. Think about whether visitors can readily identify the main entrance and whether opening a gate would interrupt another route.
Draw the intended movement of each gate on your sketch. Mark nearby walls, steps, parked vehicles and planting. Ask the installer to assess clearances and ground levels on site before committing to a design; a drawing alone cannot confirm how a gate will operate.
Balance privacy with a welcoming entrance
Stand in the places where you spend time outside and consider which views you want to screen. A dining area may call for a different treatment from the front path. Mark these areas rather than treating the whole boundary as one uninterrupted design problem.
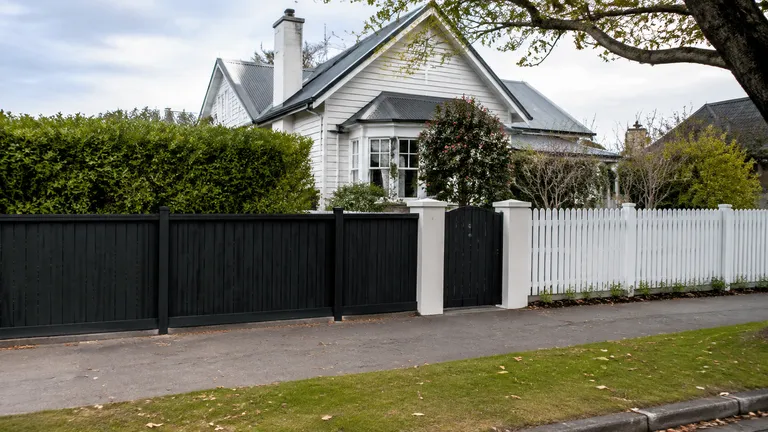
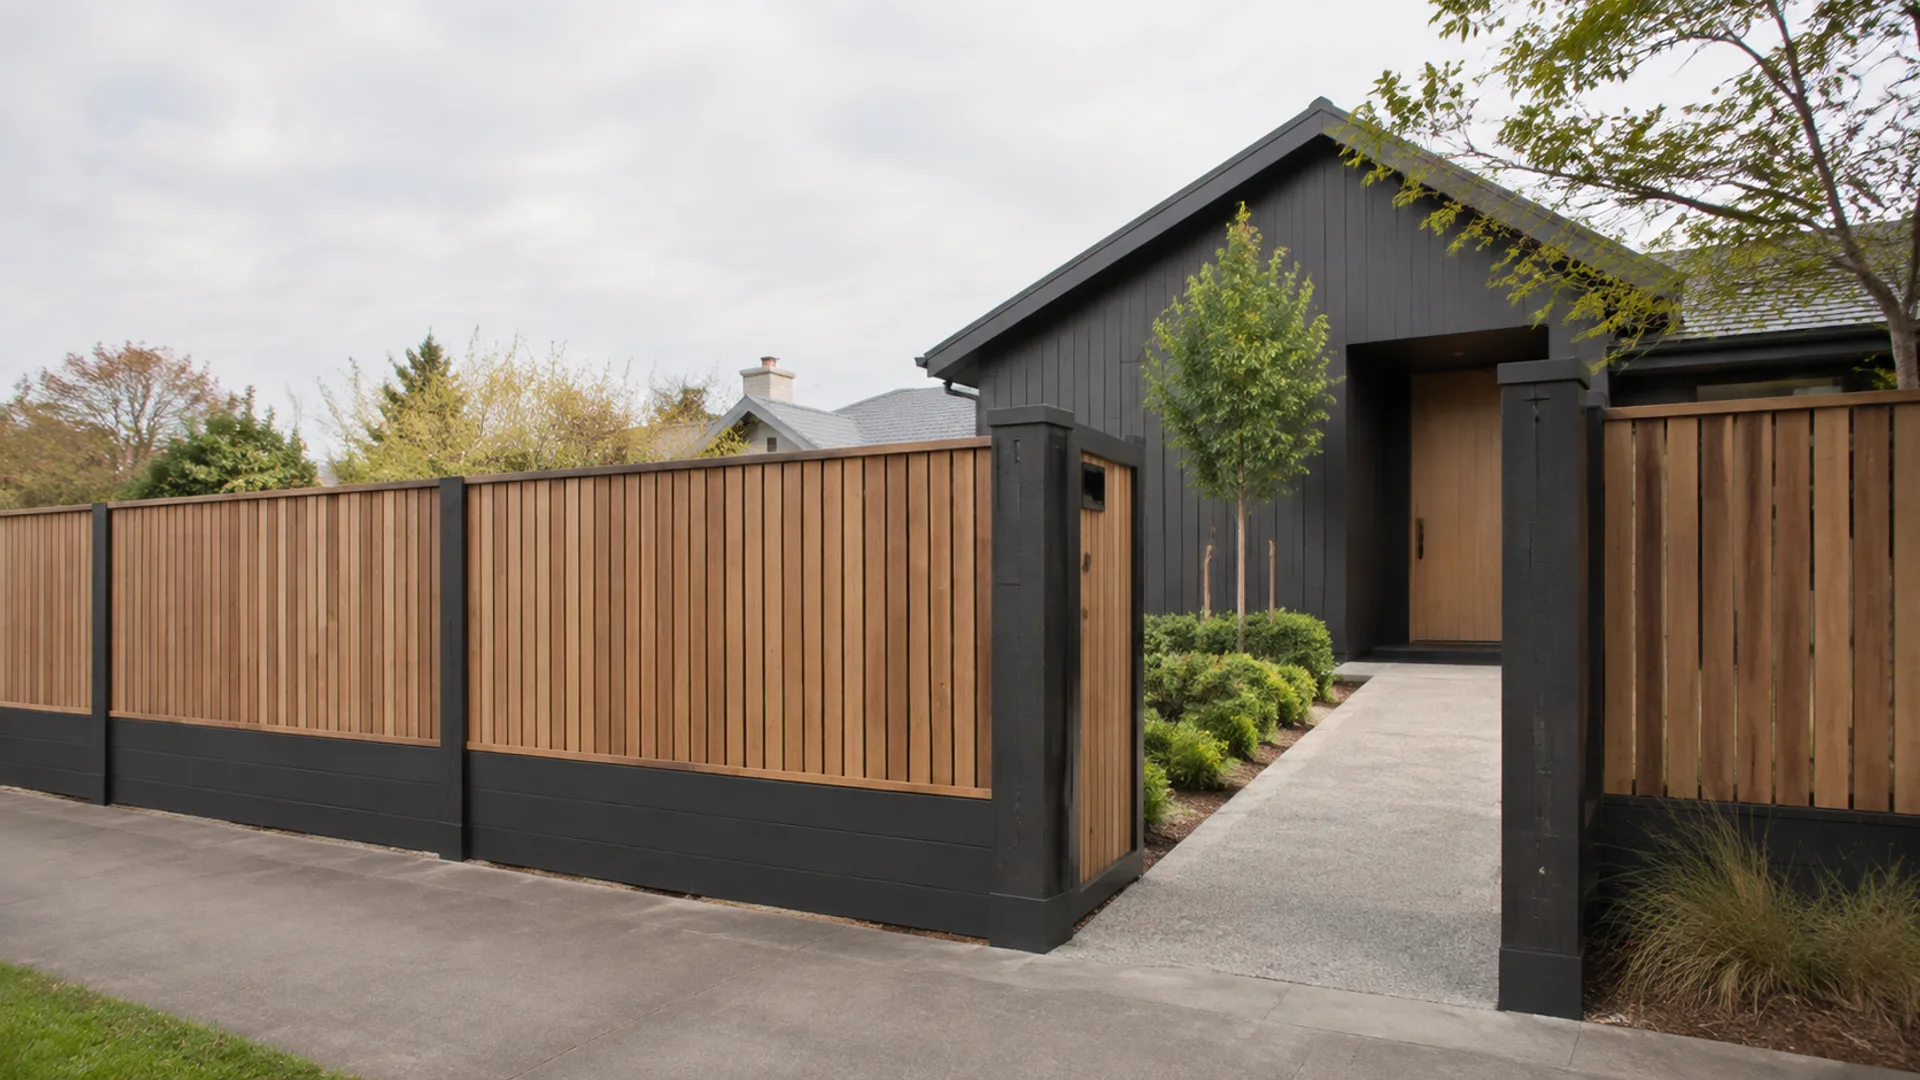
Collect examples of details you like, such as a solid side fence paired with a more open entrance. Explore our wooden fencing and Christchurch Metal Fencing pages for visual starting points, then discuss what fits the site.
Leave room for the garden to change
Show existing trees and garden beds on the plan, along with any landscaping you expect to add. Consider how you will reach the fence for inspection and care once planting fills out. Make a note of future projects, even if they are outside the current budget.
If you expect to change paving, add a deck or alter driveway access, raise this during the first site visit. Agreeing the order of work can help you avoid choosing a gate position that conflicts with a later project.
Prepare a layout brief for your installer
- A sketch of the house, boundary, paths and proposed gates.
- Photos looking along each access route.
- A list of items that need to pass through each gate.
- Areas where privacy matters most.
- Existing obstacles and planned landscaping changes.
- Questions about gate operation, finishes and upkeep.
Use the sketch to explain your priorities, with final measurements and site constraints checked before the work is agreed. For the wider project brief, read our fence planning checklist. When you are ready, contact Christchurch Fencing to discuss your layout and request a free estimate.