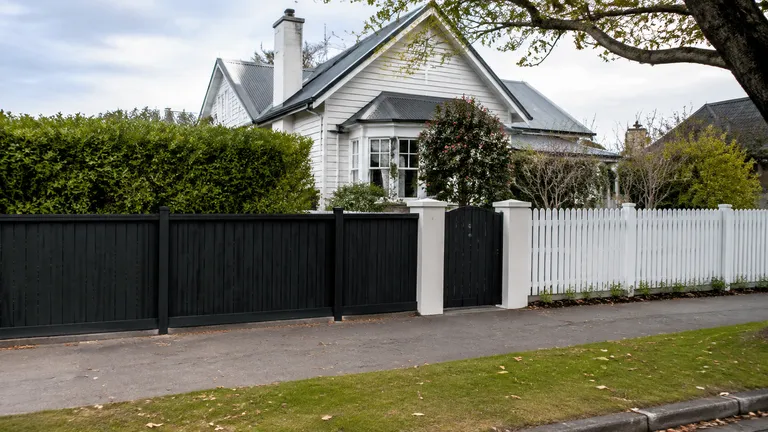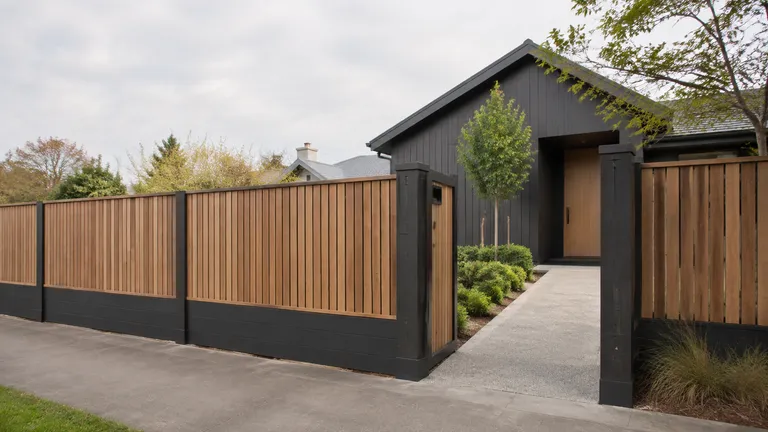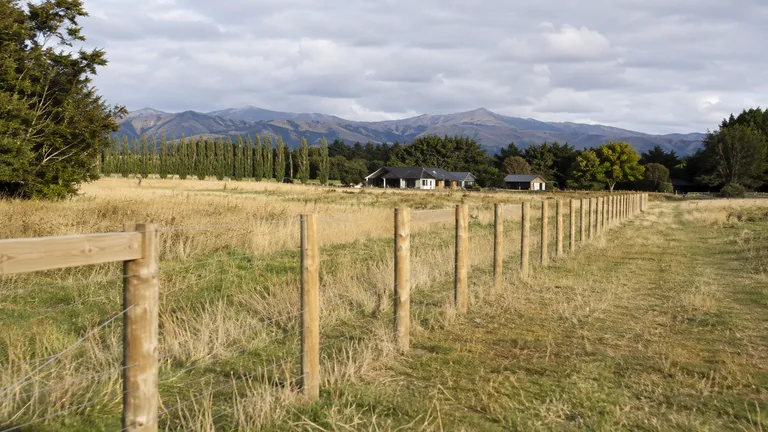
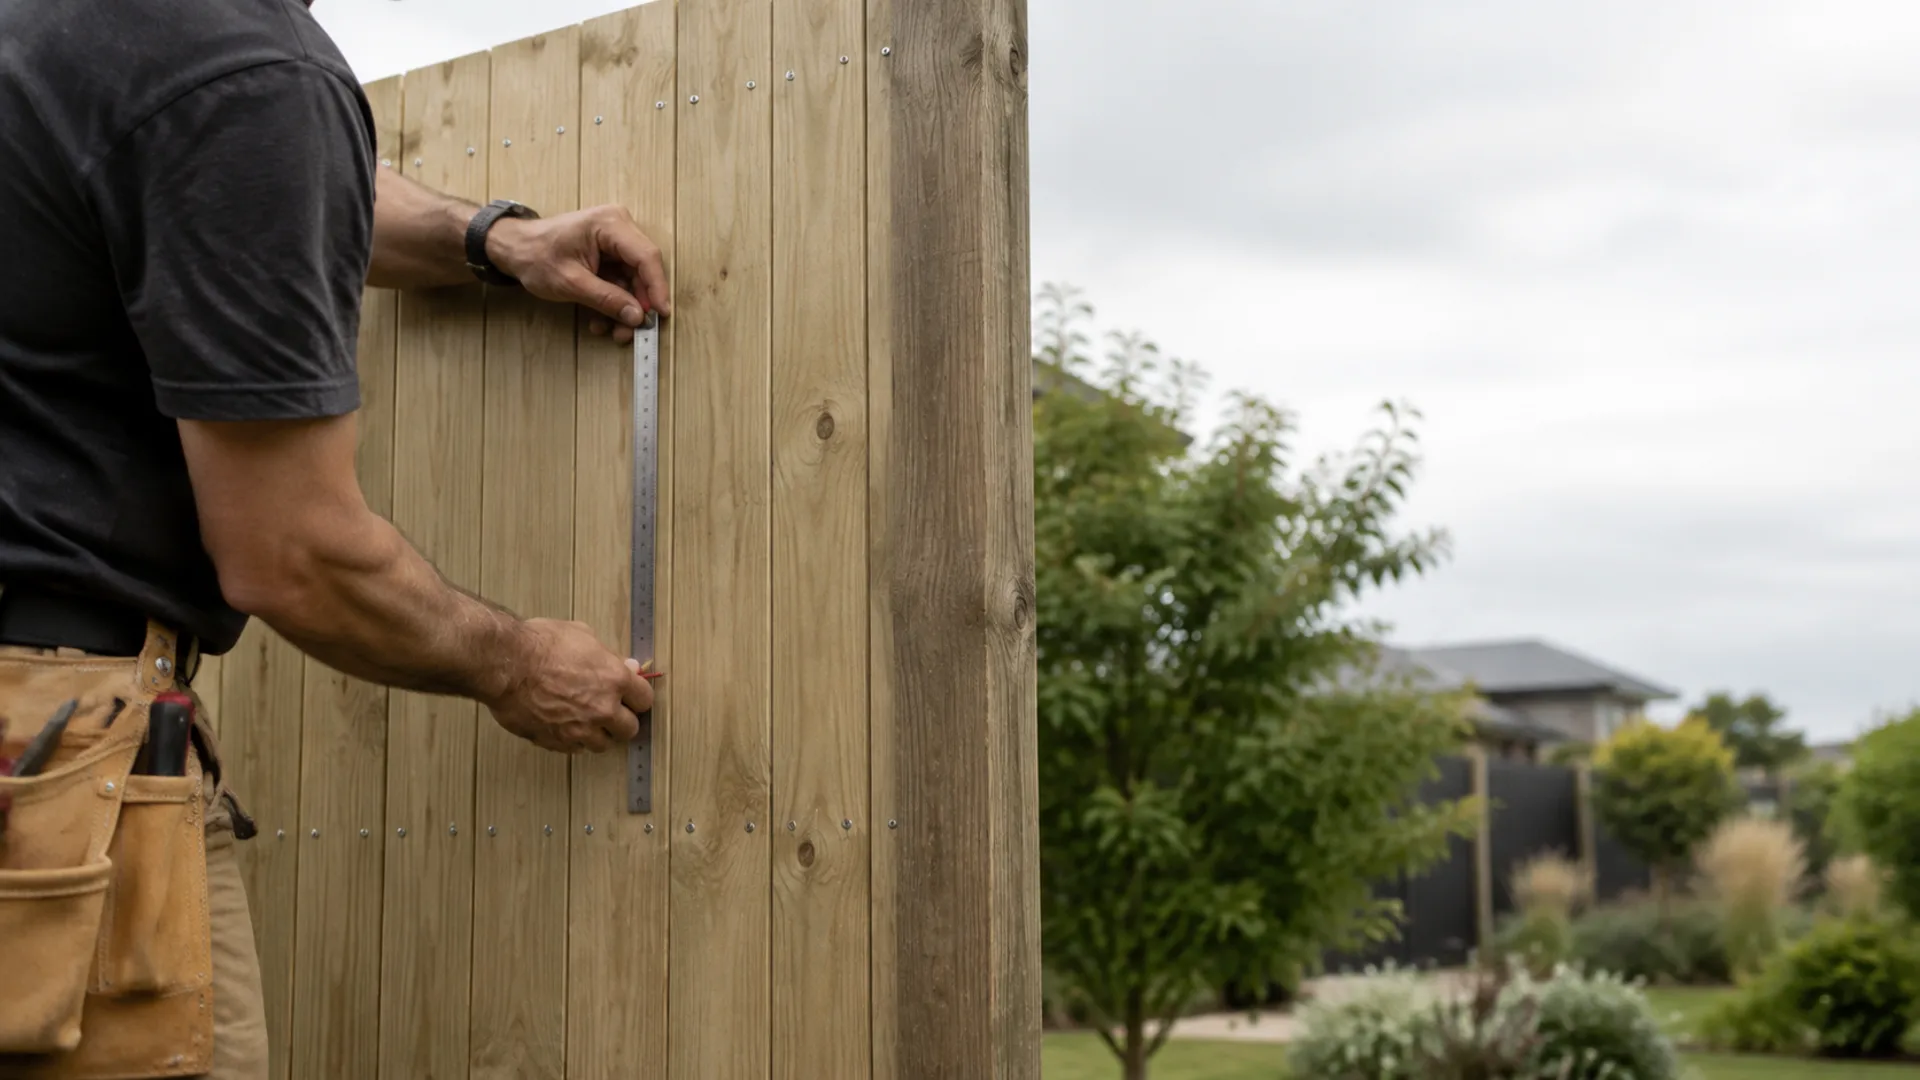
1. Choose your main priorities
Walk around your section and write down the problem you want each stretch of fence to solve. A street frontage may need an open, welcoming look, while a seating area may benefit from more screening. You do not have to use the same design everywhere.
Rank privacy, appearance, access and upkeep in order of importance. Gather a few reference pictures and note exactly what appeals to you: the colour, board spacing, gate shape or relationship to the house. This gives your installer a useful starting point.
2. Record the site and access details
Make a simple sketch showing the proposed fence line, corners, gates and nearby structures. Approximate lengths help with an initial conversation; final dimensions need to be checked on site. Include changes in ground level, established planting and narrow access routes.
Photograph both ends of the boundary and any awkward areas. Flag known buried services for discussion before digging begins. If the boundary position is uncertain, have it confirmed before agreeing the final layout. For consent and boundary questions, start with our council requirements guide and confirm the requirements for your property with the relevant authority.
3. Plan gates around everyday use
Think beyond the people walking through the gate. Bins, bicycles, garden equipment and deliveries all need a practical route. Note which way you would like a gate to open and whether a slope, parked vehicle or planting could obstruct it.
For driveway access, discuss the available space and your preferred operation with the installer. If you are considering Christchurch Gate Automation, include it in the initial brief so the gate and access arrangements can be assessed together.
4. Compare materials and upkeep
Look at samples alongside your home's cladding, paving and garden. Ask how the proposed material and finish will look as they age, and what cleaning or refinishing the supplier recommends. Consider how easily you can reach both sides for future care.
Explore Christchurch Wooden Fences, Christchurch Metal Fencing and Christchurch Concrete Fences to build a shortlist. Ask your installer to explain the implications of each option for your particular site instead of choosing from a photograph alone.
5. Compare quotes on the same scope
Give each contractor the same brief. Check whether the quote includes removal of the old fence, disposal, posts, gates, hardware, finishes and site clean-up. Ask which items are provisional and what could change after the site is assessed.
Keep a separate list of optional extras so you can compare the essential work clearly. Confirm the proposed timing, access arrangements and how changes will be discussed before work starts.
Your pre-quote checklist
- Priorities and a few reference images.
- A rough sketch, approximate lengths and site photos.
- Gate locations and access needs.
- Questions about boundaries, services and site constraints.
- Preferred materials, finish and maintenance expectations.
- A clear list of included work and optional extras.
Ready to turn your brief into a project? Contact Christchurch Fencing to discuss your Christchurch section and arrange a free estimate.